


Product Assembly, Product Maintenance
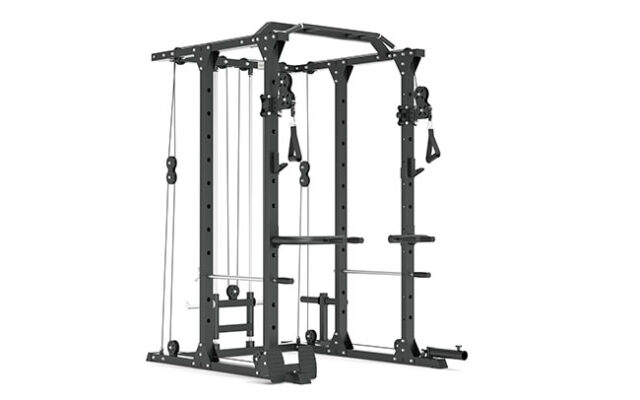
Multi-Gym Crossover: Assembly & Maintenance
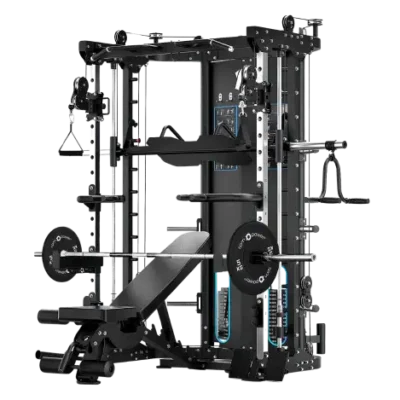
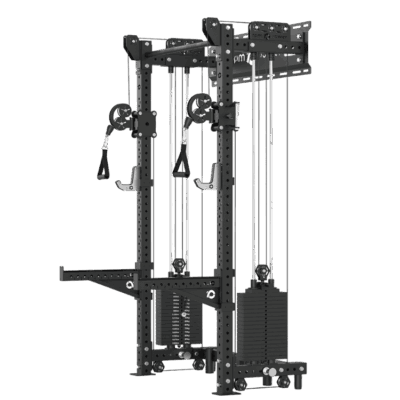
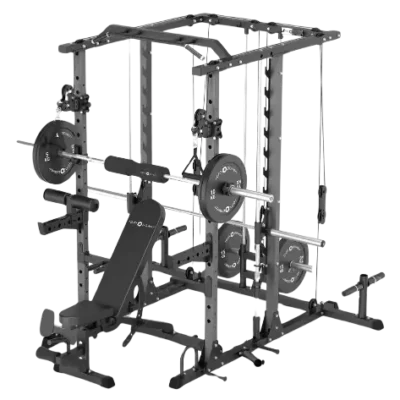
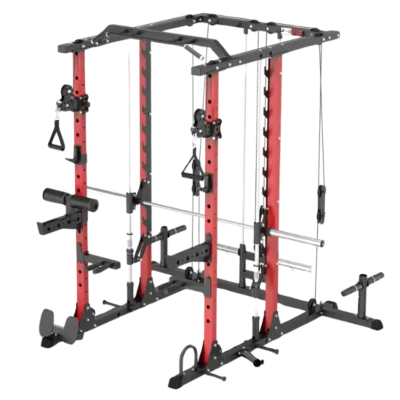
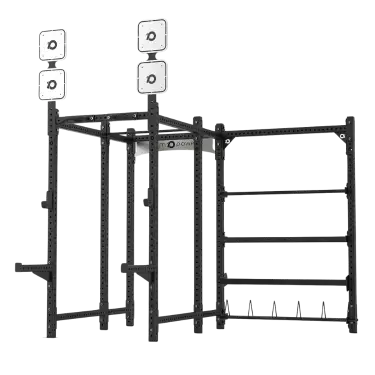
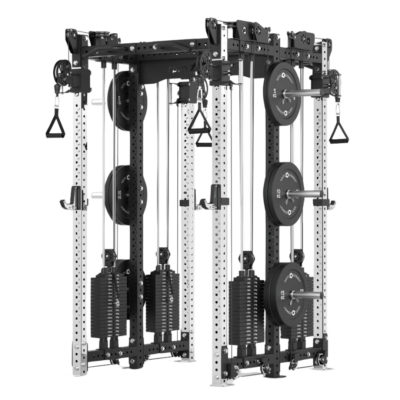
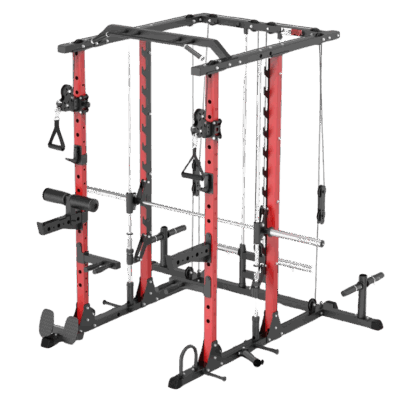
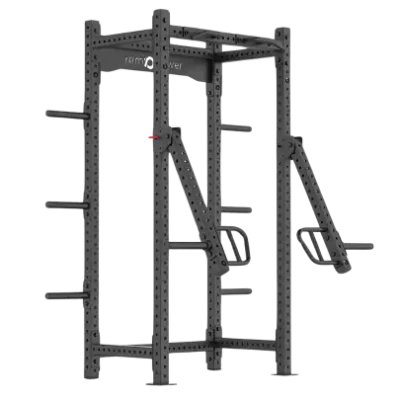
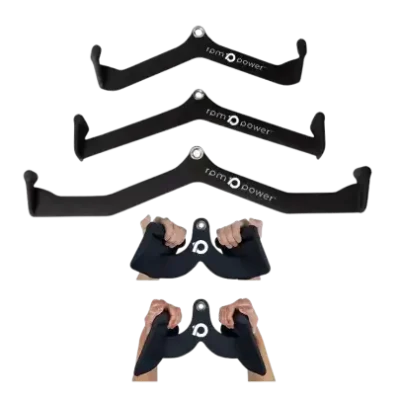
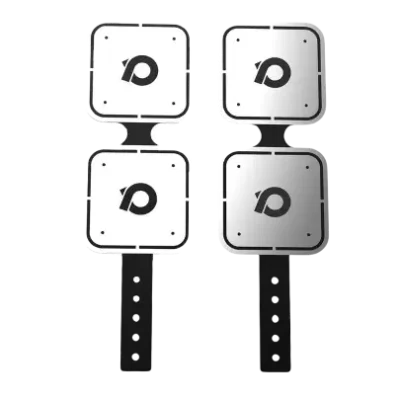
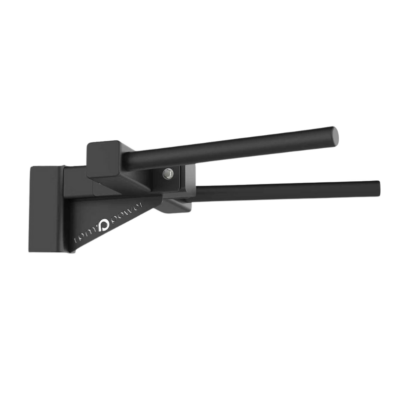
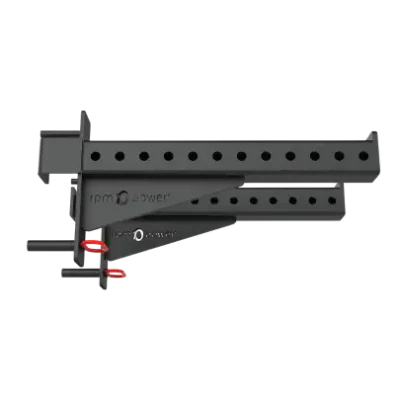
A staple of RPM Power’s multi-gym range, the Multi-Gym Crossover (V2) is a customer favourite for a reason. Compact yet robust, this rack is ideal for those building their home gym, offering a high-performance training experience without the commercial footprint. Designed to be both beginner- and budget-friendly, the Crossover still delivers the performance and versatility expected by experienced lifters, featuring dual pulley systems, safety bars, and a wide range of attachments to support every style of strength training.
With our step-by-step assembly video and detailed instruction manual, assembling your rack is simple, safe and efficient — allowing you to focus on your training right away. We’ll also share key maintenance tips to keep your Crossover in peak condition for years to come.
Multi-Gym Crossover Assembly
Assembling your Multi-Gym Crossover is straightforward with the help of our step-by-step assembly video and comprehensive instruction manual below. To make assembly quicker and easier, we recommend using a ratchet screwdriver or drill, though a spanner will also work. All required Allen keys are included with your rack.
When putting together the main frame, it’s important not to tighten all bolts immediately. Keeping a small amount of flexibility during early stages makes alignment much easier later on — once all components are correctly positioned, you can go back and secure everything tightly.
Take extra care when installing the cables, ensuring each one sits correctly within the groove of the idler pulley wheels along its path. This ensures smooth and consistent movement when performing cable exercises.
Lastly, always follow proper safety procedures. Review the safety guidelines provided in the instruction manual before use, and only operate this machine if you’re familiar with exercise equipment and proper lifting techniques.
Multi-Gym Crossover Maintenance
Routine maintenance will help keep your Multi-Gym Crossover performing smoothly and safely for years to come. Before each workout, be sure to:
- Carry out a quick visual inspection of the entire rack, checking for wear, damage, or loose fittings. If you notice anything unusual, address it immediately or contact RPM Power Support for advice.
- Regularly tighten all bolts, screws, and nuts, paying special attention to safety bars, J-hooks, and frame joints, as these areas experience the most stress during training. Even slightly loose fittings can impact both safety and performance.
- Inspect the cables frequently for fraying, kinks, or signs of wear, and replace them straight away if needed. You can purchase replacement cables directly from ourselves at RPM Power. Keep the pulleys and cable paths clean and free from debris, and check that all weight plates and attachments are securely in place.
- After each session, wipe down the machine with a soft, damp cloth to remove sweat, dust, and grime. Avoid abrasive cleaners that could damage the coating. If you notice any squeaks or stiffness, apply a silicone-based lubricant to the moving parts, such as pulleys and guide rods, to ensure smooth operation.
- Lastly, inspect all removable attachments and grips for signs of wear, and replace them as needed. Regular care will keep your Crossover working flawlessly — ensuring every rep, pull, and press feels as smooth and stable as the first.
Cable System Guide for Multi-Gyms
How to Maintain Your Cable Machine
Crossover Cable Replacement
Regular maintenance of multi-gym cables is essential for continued safety and performance. We recommend swapping out your cables for new ones every 1-3 years depending on how often you use the machine and at what weight loads you lift on average. Spare and replacement cables can be purchased from RPM Power – just reach out to us for more information. Once you have your new cables, our video on how to replace the cables in your Crossover Multi-Gym will help you install them.