
























Half-Rack ODIN: Assembly & Maintenance
What is the Multi-Gym ODIN Half Rack?
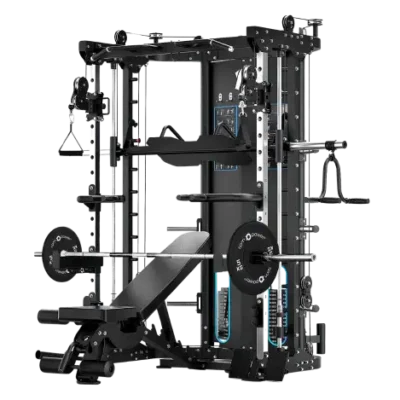
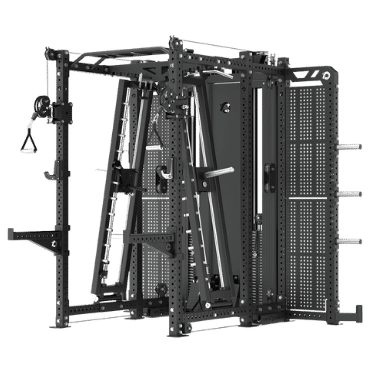
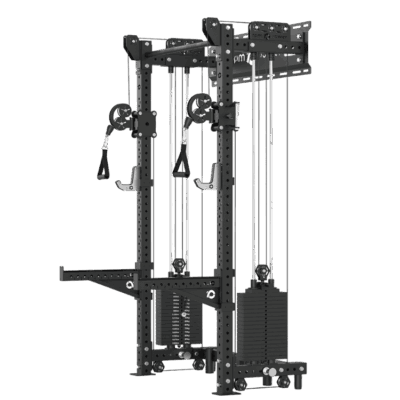
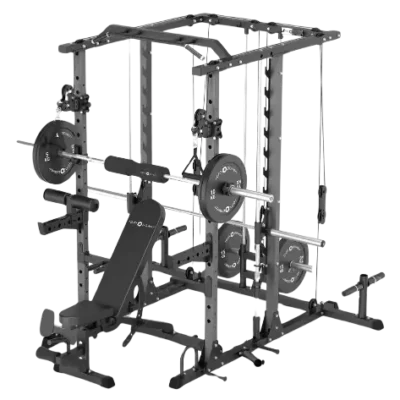
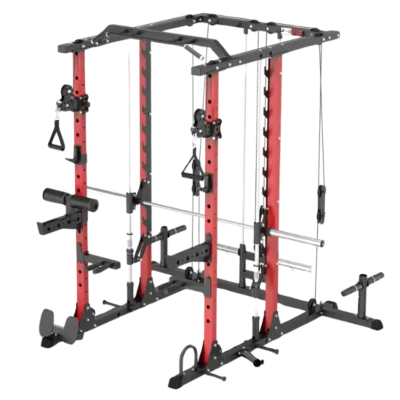
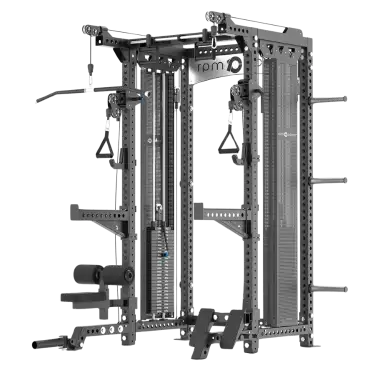
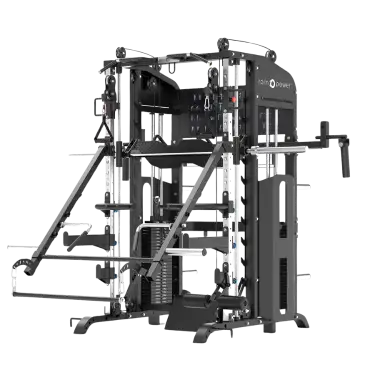
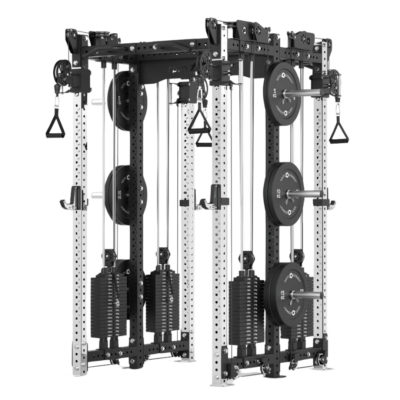
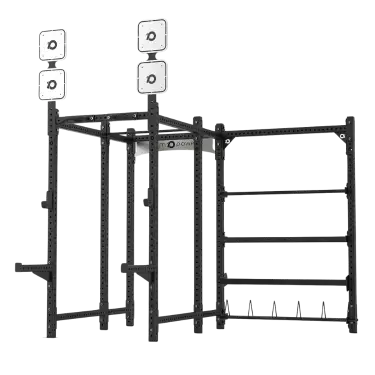
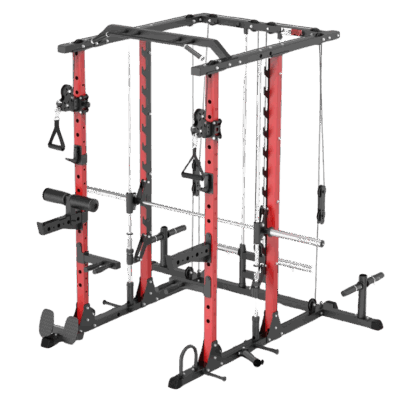
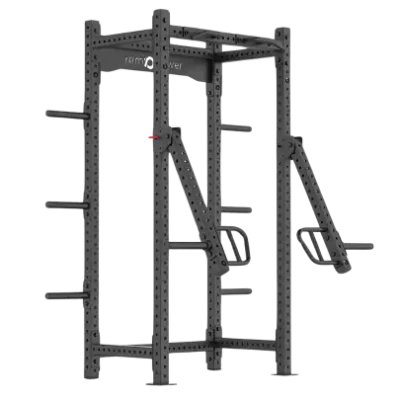
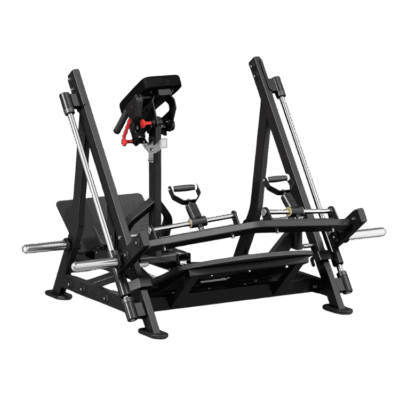
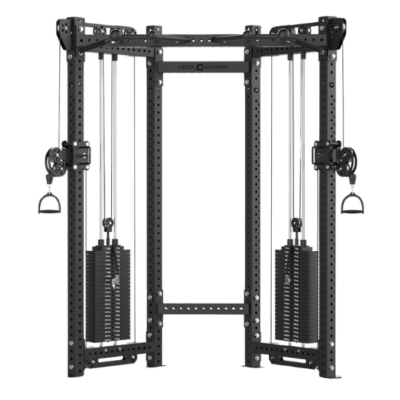
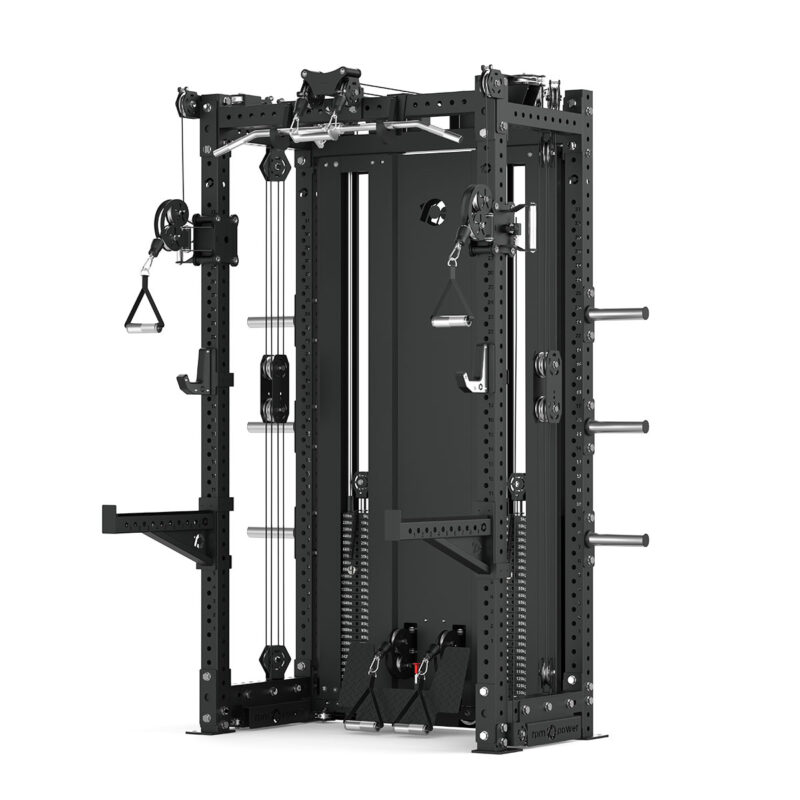
The Multi-Gym ODIN Half Rack delivers ODIN’s rack and cable-training capability in a shallower, space-saving format. It combines barbell training, a multi-grip pull-up bar, adjustable front-rail cables, lat pulldown and low row stations, plus integrated plate storage.
Its front-rail pulley system uses a 2:1 ratio with a 130kg stack providing 65kg effective resistance. The lat pulldown and low row operate at a 1:1 ratio, providing up to 130kg of resistance. This guide explains how to adapt the Full ODIN assembly diagrams to the Half ODIN layout, and how to maintain the rack once installed.
Multi-Gym Half ODIN Assembly
The linked ODIN rack manual includes a two-page Half ODIN assembly and floor-fixing supplement ahead of the Full ODIN diagrams. Assembly follows the same general process as the Full ODIN, with one key frame difference: the Half ODIN does not have the Full ODIN’s secondary cage at the front. Parts 11, 28 and 32, shown on that front element in the Full ODIN drawings, instead fit to the front uprights of the Half ODIN in the same relative positions. Important: install part 11 before fitting the top connecting bars. The cable follows the same route but finishes earlier at the Half Rack front upright. Follow the Half ODIN supplement first and use the Full ODIN diagrams as a reference for the shared components.
Before starting, lay out the parts supplied with your Half ODIN and identify the frame, uprights, cable components, storage and attachments. Assemble with another adult where possible and leave enough room to work safely around the unit. If it helps with positioning, you may leave the weight stacks until one of the last assembly steps, provided the remaining assembly can still be completed correctly.
Floor fixing is the customer’s responsibility. The customer must ensure that the rack is correctly secured to a suitable floor. Only carry out the drilling and anchoring yourself if you have the necessary tools, knowledge and ability to assess the floor and install the appropriate fixings. Otherwise, arrange a qualified installer. Do not use the Half ODIN until floor fixing is complete and secure.
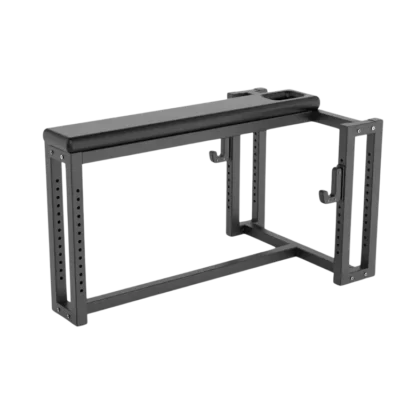
1. Build the main frame — fit part 11 before the top bars. Use the Full ODIN manual to identify the matching base, uprights, cross-members and cable-system components. Slide both part 11 sliding sleeves onto the Half ODIN front uprights before attaching the top connecting bars. Do not build the separate front cage shown in the Full ODIN diagrams; it is not part of the Half ODIN.
2. Position parts 28 and 32. With part 11 (sliding sleeve) already on the uprights, fit part 28 (upper pulley traction set) and part 32 (lower pulley traction assembly) to the Half ODIN’s front uprights in the same relative positions shown on the Full ODIN front element. Fit only the parts supplied with your Half Rack and confirm each is correctly oriented and securely seated.
3. Check alignment and cable routing. Keep frame bolts slightly adjustable while aligning the structure. Use a spirit level and straightedge to check that the front uprights are plumb and the frame is level and straight; then tighten the frame hardware securely. Follow the same cable route as the Full ODIN, ending sooner at the Half ODIN front upright; do not continue towards the absent secondary cage. Keep each cable seated in its pulley groove and clear of edges or pinch points. Do not cut or force a cable. If an illustration does not match the supplied Half ODIN parts, pause and contact RPM Power Support.
4. Level and bolt the Half ODIN to the floor. Unlike the Full ODIN, the Half ODIN is not freestanding. Check for concealed services before drilling and use floor fixings appropriate for your floor construction. If the floor is not fully level, suitable stable washers or spacers may be needed under the upright base plates to bring the frame level before fixing; make sure the plates remain firmly supported and the anchors can be secured correctly. Consult a qualified installer if the floor, spacers or fixing method are uncertain. The rack must be securely anchored and level before use.
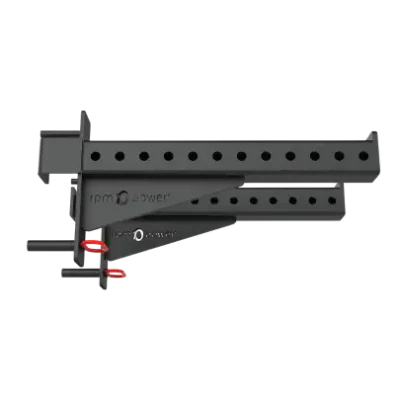
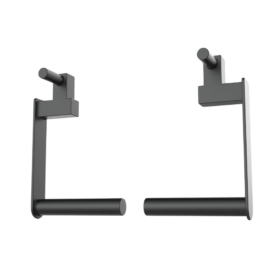
5. Add deferred weight stacks and complete the final checks. If you left the weight stacks off to make moving and positioning the rack easier, fit them as one of the last steps. Fit the supplied J-hooks, safety bars, storage and cable attachments in their correct Half ODIN positions. Check that all hardware is tight, catches and attachments are engaged, and the weight stacks and cables travel smoothly through their full range before training. An uneven floor or frame can create extra friction as the weight plates move; if a stack binds, correct the alignment before use.
Important compatibility note: The Standard and Inverted Smith Rails shown in some Full ODIN material are not compatible with the Half ODIN. The Smith Rail instruction manuals do not apply to this rack. Skip the secondary front-cage structural pieces and Smith Rail fittings shown for the Full ODIN, but relocate parts 11, 28 and 32 to the Half ODIN’s front uprights as described above.
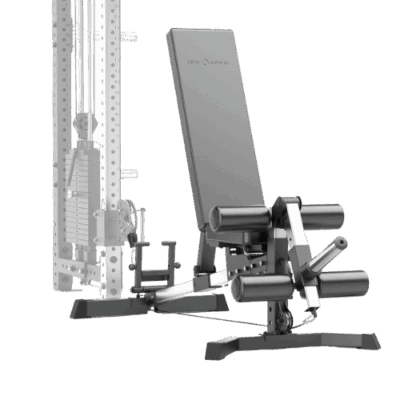
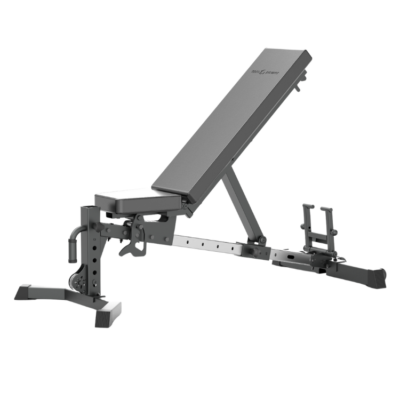
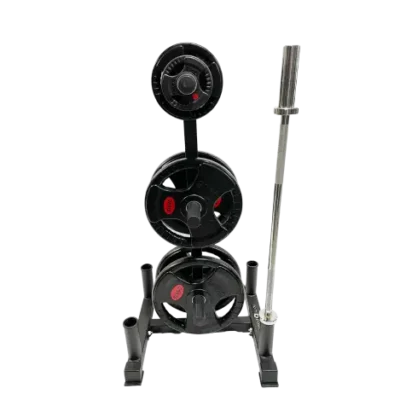
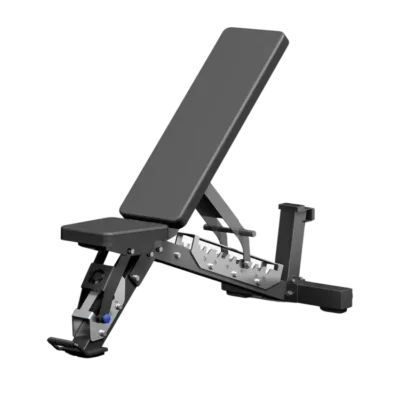
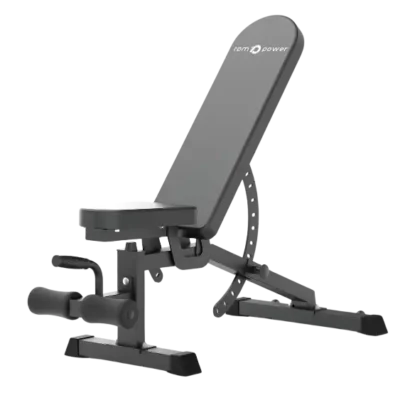
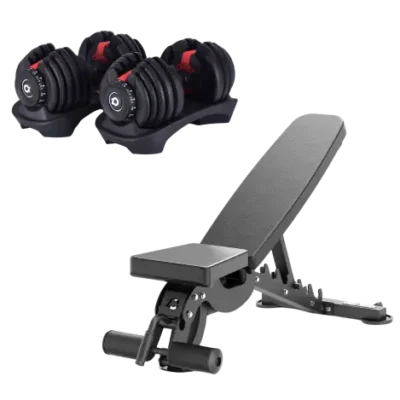
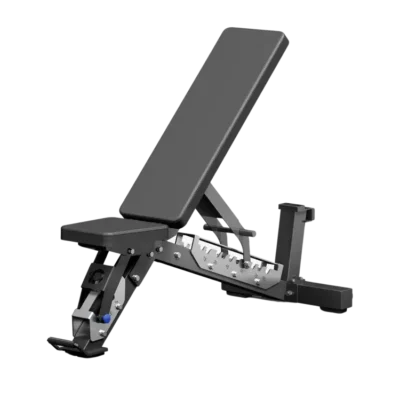
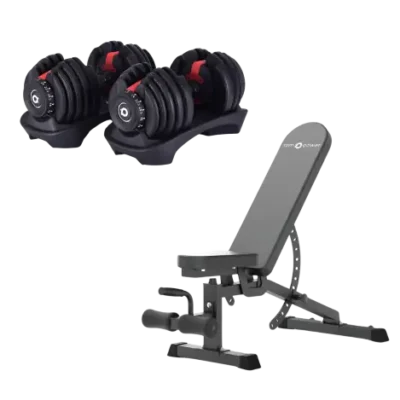
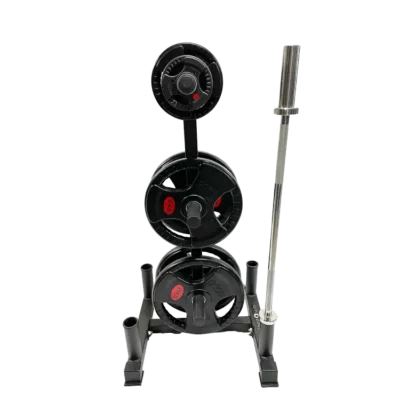
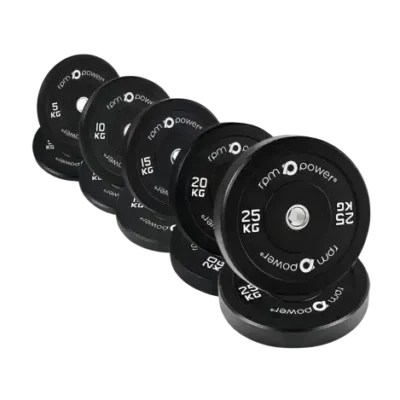
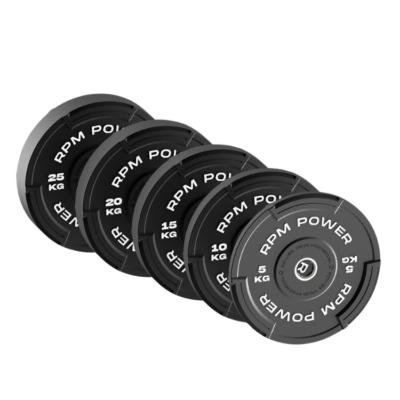
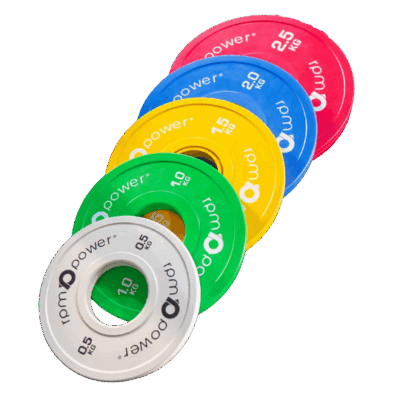
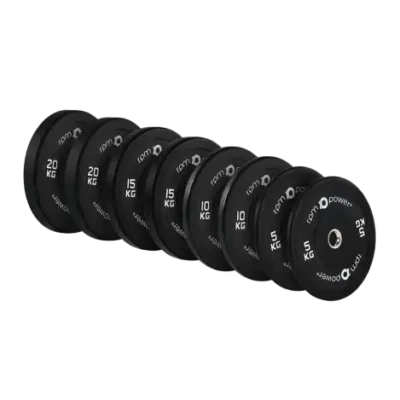
The Half ODIN Bundle may include a Versa Bench, barbell and weight plates in addition to the rack. These are separate bundle items; follow the instructions supplied with each item rather than treating the Full ODIN rack manual as a guide for them.
ODIN Rack Manual with Half ODIN Supplement
The 17-page PDF begins with the Full ODIN cover, followed by two pages specifically covering Half ODIN assembly differences and required floor fixing. The remaining 14 pages of the Full ODIN manual provide parts lists, assembly illustrations and cable-system reference. Read the Half ODIN supplement before following the shared diagrams; the Full ODIN illustrations show a different front-cage layout.
Multi-Gym Half ODIN Maintenance
Routine maintenance helps keep your Multi-Gym Half ODIN safe and running smoothly. Before each use and as part of regular care:
- Check the floor anchoring. Confirm that the rack remains securely bolted down, level and free from movement. If a fixing has loosened or the floor has deteriorated, stop using the rack until it has been made safe.
- Inspect the frame and front uprights. Look for loose bolts, damage or movement at joints and at the Half ODIN’s front-upright attachment positions. Check that J-hooks, safety bars and pull-up components are fully engaged.
- Inspect the cables and pulleys. Look for fraying, kinks, rubbing or unusual wear, and make sure each cable remains correctly seated in its pulley groove. Stop using any affected station until damaged parts are replaced.
- Check the weight stack. Keep the plates and guide rods clean, confirm the selector pin engages properly and make sure the plates move freely through their full travel.
- Clean and care for the finish. Wipe down the frame, handles and attachments with a soft damp cloth after training; avoid harsh or abrasive cleaners. If movement becomes stiff or noisy, check alignment and use a suitable silicone-based lubricant only where appropriate for the component.
If you are unsure about an assembly detail, the cable route or an unexpected noise, stop using the affected station and contact RPM Power Support for help.
Other Helpful Links:
Cable System Guide for Multi-Gyms
How to Maintain Your Cable Machine
QUESTIONS?
If you need help interpreting a Full ODIN illustration for your Half ODIN, or need advice about assembly, floor anchoring or maintenance, our RPM Power technicians can help by text or video call.