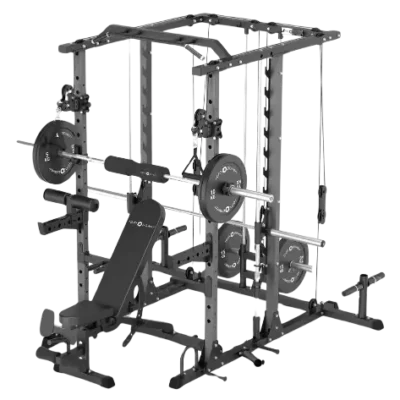
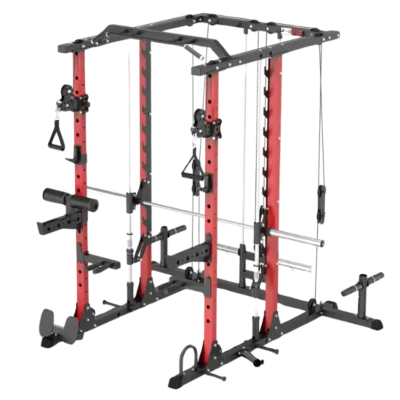
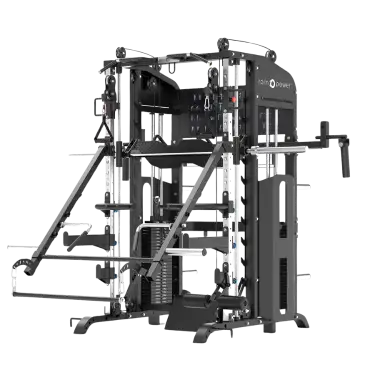




Multi-Gym Freyja: Assembly & Maintenance
What is the Multi-Gym Freyja?
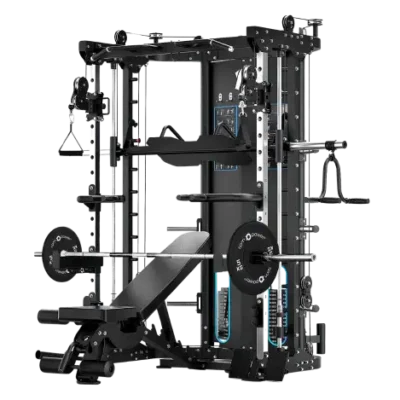
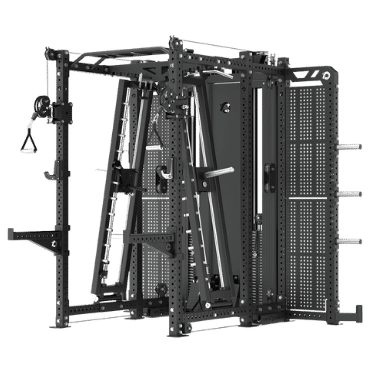
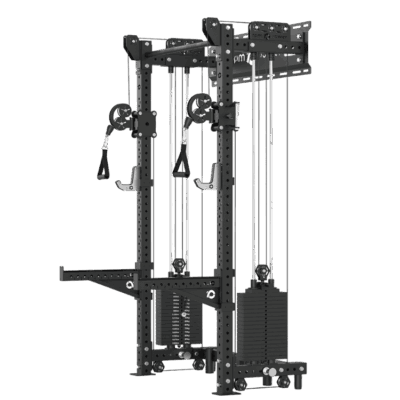
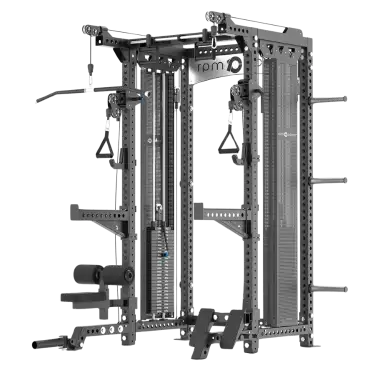
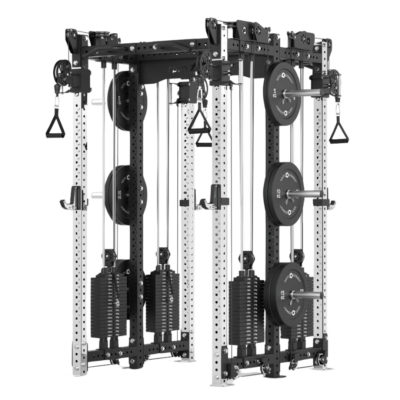
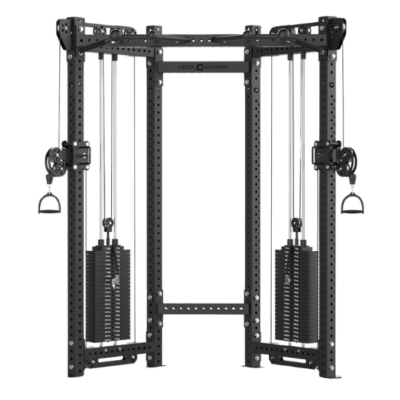
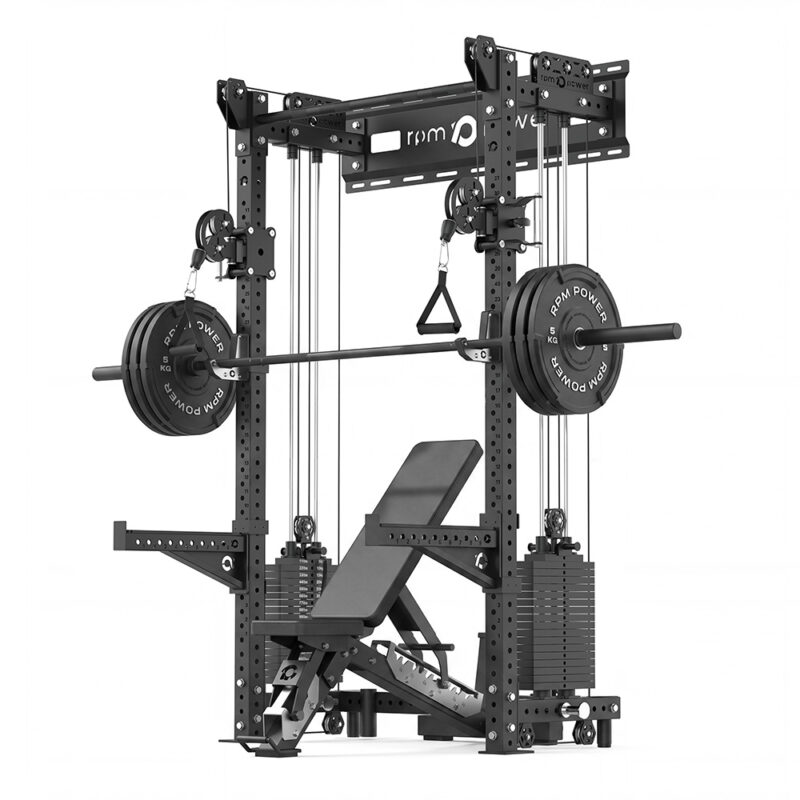
Named after the Norse goddess associated with strength and balance, the Wall-Mounted Multi-Gym Freyja brings together a functional trainer and a power rack in a compact, space-saving design. Its dual adjustable cable columns, two 90kg weight stacks and smooth 2:1 pulley ratio make it a versatile choice for full-body strength training.
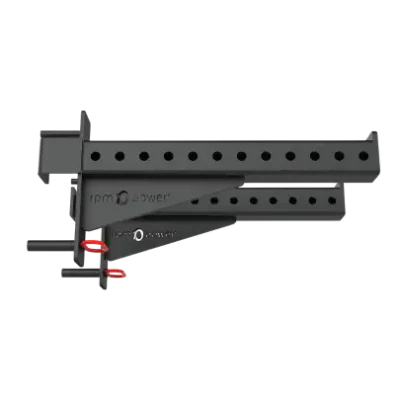
Freyja also includes an integrated pull-up bar, J-hooks and heavy-duty spotter arms. Whether you are setting up your rack for the first time or looking after it between sessions, this guide explains the recommended assembly approach, provides the instruction manual and covers essential ongoing maintenance.
Multi-Gym Freyja Assembly
Freyja is a wall-mounted rack that must be securely fixed to both the wall and the floor before use. The easiest way to establish the fixing positions is to assemble the main frame first, carefully lift and hold it in its intended location, and use the frame itself to mark the areas that need to be drilled.
Important assembly-order clarification: The visual manual shows the weight plates being added before the rack is drilled and fixed. For easier and safer positioning, leave the weight plate stacks off until the frame has been levelled, marked and securely fixed to both the wall and floor. Use the manual diagrams to identify the parts and how they fit together, but defer its illustrated weight-plate step until after anchoring.
We recommend this practical order:
1. Build the main frame. Assemble the base cross-member and both uprights as shown in the manual. Fit the upper back plate in the configuration needed to locate the wall fixings. Leave some adjustment in the frame bolts until everything is aligned.
2. Position the frame against the wall. With enough help to support it safely, lift the main frame into its final location before fitting or loading the weight stacks. Do not leave the frame standing unsupported.
3. Check everything is level. Use a spirit level to confirm that the back plate is horizontal and both uprights are vertical. Adjust the frame position until it is square and properly aligned.
4. Mark the fixing positions. While the frame is held securely and level, mark the wall and floor drilling locations through the relevant mounting holes. Then move the frame safely out of the way before drilling.
5. Secure to wall and floor. Use fixings suitable for the actual wall and floor construction, and follow the manual and fixing manufacturer’s instructions. Recheck the level, securely tighten the assembly hardware, and confirm both sets of fixings are sound before adding the weight plates.
6. Add the weight plate stacks last. With the rack securely mounted, complete the remaining lighter assembly steps using the diagrams, then fit the weight plate stacks as the last major components. Finish and test the cable routing as shown in the manual before use.
Important: Check for concealed cables and pipework before drilling. The appropriate anchors and installation method depend on the wall and floor materials; if you are unsure about the substrate or its suitability, consult a qualified installer before proceeding. Never train on Freyja until both wall and floor mountings have been securely completed.
As with other cable-equipped racks, make sure each cable runs in the groove of its pulley wheels, all attachments are fully seated and locked where applicable, and the guide rods and stacks move freely before training. Review the complete manual and its safety information before first use.
Freyja Instruction Manual
Use the eight-page Freyja rack manual to check the parts list, main frame, upper back plate, weight-stack assembly, cable routing and accessories as you build. Do not follow its illustrated plate-stack timing literally: fit those plates only after the frame has been fixed to the wall and floor, as explained above.
Multi-Gym Freyja Maintenance
Regular checks will help your wall-mounted Multi-Gym Freyja remain safe and perform smoothly. Before each use and as part of your routine maintenance:
- Inspect the wall and floor fixings. Check that the rack remains securely anchored, the back plate and uprights have not shifted, and there is no damage to the surrounding wall or floor. Stop using the equipment if anything is loose or damaged.
- Check frame bolts and attachments. Look over the uprights, cross-members, pull-up bar, J-hooks and spotter arms. Tighten loose fasteners and confirm paired attachments are level and fully engaged.
- Inspect the cables and pulleys. Look for fraying, kinks, misalignment or other signs of wear. Check that cables sit in their pulley grooves and replace damaged parts before using the affected station again.
- Keep the weight stacks clean. Remove dust and debris, check the selector pins and plates, and confirm that the stacks travel smoothly without binding.
- Wipe down the frame and attachments. Use a soft damp cloth to remove sweat and dust. Avoid harsh or abrasive cleaning products that could damage the finish.
- Address stiffness or noise. Clean the guide rods and, where the manual recommends lubrication, use a suitable silicone-based lubricant sparingly. If a fault persists, contact RPM Power Support.
A quick visual check before every session and prompt attention to any change in movement will help keep Freyja ready for safe, consistent training.
Other Helpful Links:
Cable System Guide for Multi-Gyms
How to Maintain Your Cable Machine
QUESTIONS?
If you need help with Freyja assembly, wall-mounting or maintenance, our RPM Power technicians can talk you through the issue by text or video call.